dio you have any picture of the process? Its not clear to me which side goes the gummed part of the joint . Thank you

How to Roll an L-Plate Joint
|
Time to read 4 min
|
Time to read 4 min
Table Of Contents
As years go by, new ways of enjoying and making the most out of weed have come out. Those who like to challenge their rolling skills and creativity build masterpieces that are really impressive, even for people who don't smoke.
What we will talk about next is a seemingly simple method but is perfect for sharing or for your personal delight. Sometimes, one single paper isn’t going to be enough when you want to take extra time and extend the lovely occasion that is smoking your pot.
The L-plate joint technique requires medium level skill if you don’t want to make a disaster and waste material while trying to pack and roll correctly. Even though it looks like a normal joint, it can be tricky too. You better improve at rolling one regular, until you feel ready to advance. In case you are ready to learn how to roll and L-plate joint, you will need the following:
If you are going to use a filter, instead of trying to jam it in afterward, it is always better to roll it in with the joint. We recommend you don't use random or makeshift filters that may have chemicals (like ink, for example) potentially harmful to your health. There are plenty of decent filter paper packs these days for very accessible prices.
You can also take a look into some rolling papers that already include some filters on it, like HAMP which include 32 custom airflow filter in each rolling kit. This way is easier for you to get a joint with a good filter and don't mess it up when rolling.
It’s up to you what type of cannabis, strain, or weed quality you choose to use here. Just make sure you grind it appropriately so it can be spread easily into the joint.
We highly recommend you get KLIP grinder, as it's the only grinder that protects the herb trichomes while grinding it to keep a good effect and potent high.
To make this L-shaped joint you'll need two regular-size rolling papers. Find a brand that complies with your standards. For us, hemp rolling papers are of great quality and the adhesive never fails. There's nothing worse than a joint falling apart on you.
If you want to try a good hemp rolling kit, check out HAMP. The cool thing is that its packaging turns into a very cool and efficient rolling tray. No more messy weed all over, with HAMP!
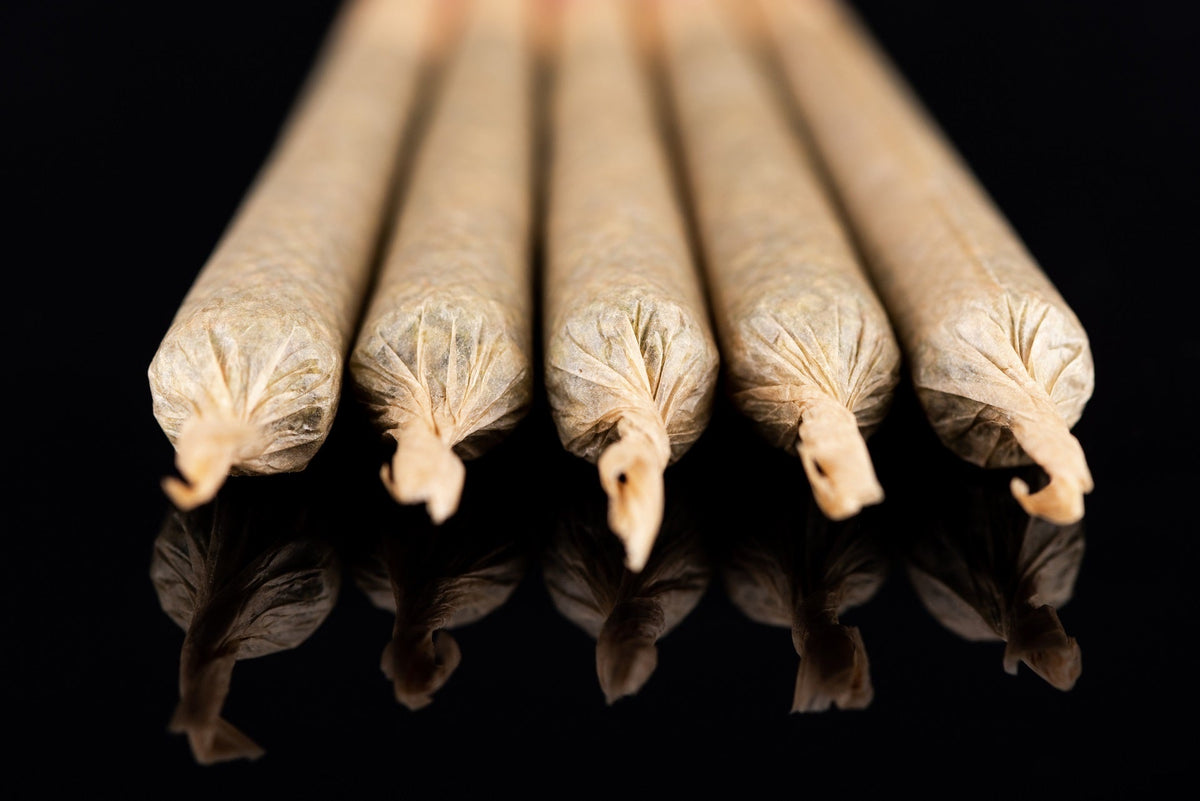
To roll an L-plate joint, take the two pieces of rolling paper and form an ‘L’ shape with them. Find which side is more comfortable to roll with the head of the L joint, meaning you can place the vertical side on the right or left of the horizontal paper. L's are ideal for rolling cones, since it allows the added paper to elongate the joint and roll a thicker cone.
The size of your L depends on how much cannabis you've grinded. You can use the fold of the vertical paper as a guide so you know where to stick the horizontal paper once you have licked about half of this paper. Let it dry for 30 seconds.
Rolling the perfect L joint, this could be one of the most important aspects. The shape of the joint will be determined by the way you spread your weed. Be sure to disperse the cannabis in ‘crescendo’. This way it eventually gets bigger at the end of the paper, similar to an upside-down traffic cone.
On the handle side of your cone, put the filter that you've already prepared. There is no problem if you prefer to keep your joint natural and discard the filter. However, it can be useful to help you align your joint. Also, lick the adhesive softly so it is not dry, but do it slightly. We don’t want a lake of saliva.
Now you can show off your rolling abilities. Pack your weed down gently and roll the bottom back and forth a few times to tighten it up a little, like you would do with playdoh or clay. Roll the bottom up to cover the weed steadily and continue to roll until you are entirely finished. You can also pack the bits left or some extra you have if you consider it is not full enough.
Last, to achieve a smooth roll and burn, trim off all excess paper or fold it to close your joint. Honestly, there's no need for any extra paper! Continue to practice until you master the art of rolling an L-plate joint and surprise your friends with your new skills.
Have fun practicing your rolling!
Comments
dio you have any picture of the process? Its not clear to me which side goes the gummed part of the joint . Thank you


