How to Roll a Cone Joint
|
Time to read 4 min
|
Time to read 4 min
Rolling a joint is truly an art form. If you smoke on a daily basis or at least plan to, learning how to roll your weed into a spliff yourself is essential. Moreover, those who have already mastered rolling a joint have come up with different shapes to make their smoking experience better. To make a cone shaped one, you might consider leaving the tip wider than the mouthpiece.
This rolling method makes your joint look very aesthetic and you're bound to turn heads when you pull out a beautifully executed cone. Whether you are a passionate user or a beginner and you feel eager to learn how to roll, stay with us to discover, step by step, how to roll a perfect cone joint.
Table Of Contents
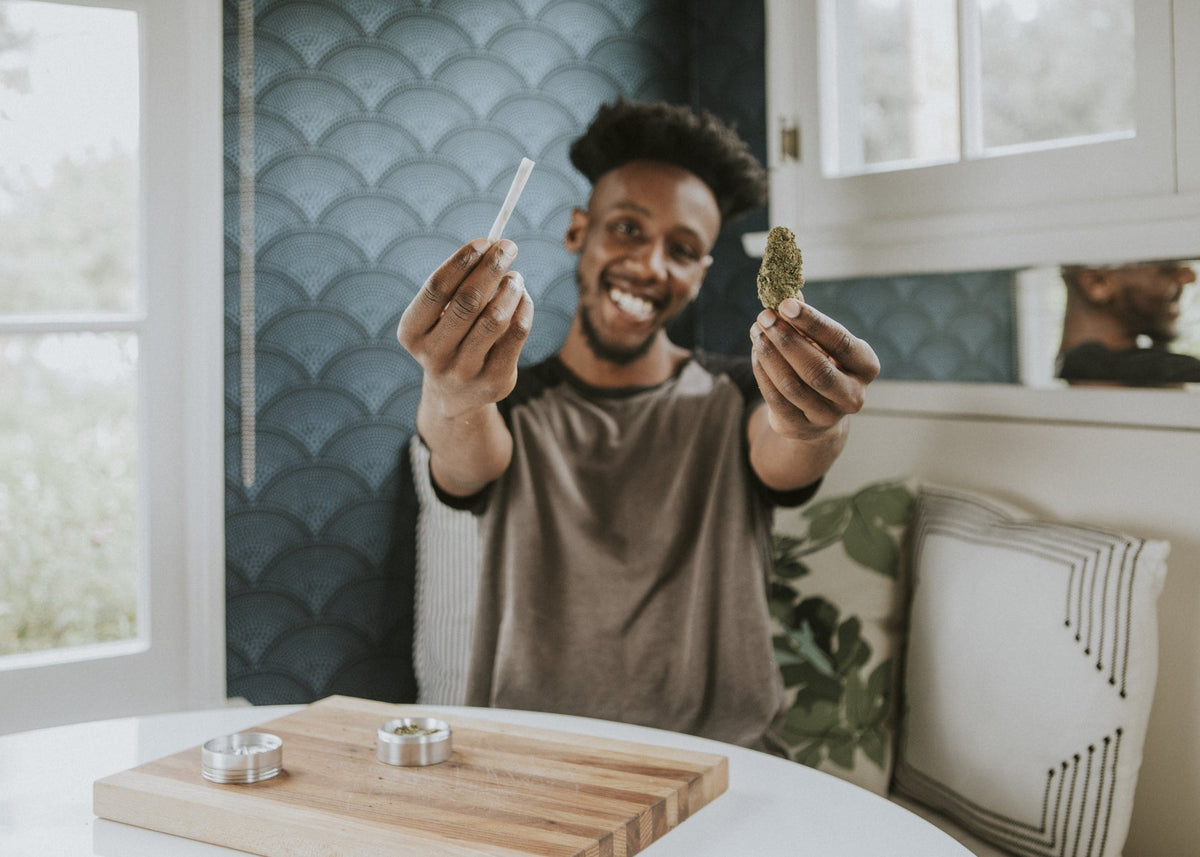
First, you have to choose your favorite cannabis strain. Once you have your dry herbs, a grinder, your favorite rolling papers and a crutch or filter tip, place everything on a flat surface and jump to step one.
Grind your herbs first, getting them as fine as possible. A grinder is the perfect way to get the ideal consistency for burning and we recommend the KLIP to amplify your rolling and smoking experience. While we don’t recommend using your fingers, it is possible you don’t have a grinder at hand. In such cases, your hands, scissors, and other resources will work too.
A filter provides your spliff stability and helps you avoid sucking herbs right to your mouth by accident. In case you have filter tips, tear out the tip along it’s perforations. Another quick solution is to use those ready-to-go premade filters.
If you don't have any of those and you don't mind being creative, use a thin cardboard, wooden/glass nibs, stiff paper, or even a business card to create your own filter by cutting a small rectangular shape of your chosen filter material. Then, create a small “M” shape at one end and roll until you reach your desired thickness. This way you’ll create a kind of blocker. If your filter seems a little bit king-sized, just tear off any extra material.
Take one of your favorite rolling papers and gently crease it. Then, proceed to lay it open. Line up the filter at the end of one side of your paper. Sprinkle your desired amount of well grinded herbs along the centerfold through the remaining area.
Let your crease guide you to the other side of it. Keep in mind that you are trying to create a cone shape joint, similar to the shape of a baseball bat. Therefore, add less herbs when you’re closer to the filter and more as you move to the opposite end of your soon-to-be-joint.
Be nice and gentle when picking up your set-up. Use your thumb and index finger to roll the paper, placing it between them, moving it up and down. Try to slightly compress all contents and proceed to smoothly roll it . Don’t feel bad if you spill some herb, it happens to the best of us. Once you learn how to perfectly roll a joint, the entire process will be faster and easier.
Now that it has a compact texture, grab the end of the joint from the filter end, keeping it in place and holding it firmly. Slide your thumb all the way along to guide the paper into position, while simultaneously rolling the paper into its cone shape. Make it as tight and smooth as possible, otherwise you are going to end up with a floppy joint. After this, when the non-filter side begins to have limited paper remaining to roll, make a quick pause to lick the sticky-glue strip across your paper. Finish the twist upwards to seal the joint.
Remember what people say, “practice makes perfect”. Don’t worry if your cone joint doesn’t look much like one. Your rolling paper pack has about 50 sheets of paper to practice with. While you become a master joint roller just sit back, relax and light the one you have right now. Practice makes perfect and Rome wasn't built in a day.
Say that you have a crazy amount of weed, and you want to share your joint with some friends, but you don’t have king size rolling papers. If you have already learned how to roll a cone joint, you can combine two papers to create the ultimate party favor.
Put your grinded herb to the side while you make your own king-size paper. Grab two rolling papers with both hands, making sure that the sticky strip is facing you. Put them side-by-side making a 90 degree angle. Now, focus on the paper that you have on your right hand. The sticky strip area should be under the paper that's on your left hand, looking just like an L.
Do not lick the remaining adhesive strip above, since you are going to need it later.
Before you put your herbs on your large paper make sure it is dry. Place it on a flat surface, grab it and rub it against this surface gently using friction to dry the paper out faster.
Now you can go step one in How to Roll a Perfect Cone Joint. Remember that you'll have that wider surface area towards the end, where you can fit between 1 gram and 1.5 grams of ground cannabis.
Simon Folmann
Simon is an accomplished entrepreneur and inventor in the cannabis industry. He’s the founder and CEO of HØJ; a revolutionary high-end cannabis accessories company. His mission is to change the way we experience the herb and enhance people’s smoking experience through knowledge and unique products.


