For most cannabis users around the world, a sweet, aromatic, and reliable joint will always be one of the favorite options. Perhaps you are familiar with the traditional way of rolling a joint. However, as soon as you start to engage constantly with the world of cannabis, you discover that this may only be the beginning and that the creativity of some stoners can go a long way when it comes to putting together a joint.
A regular size rolling paper joint may sometimes not be enough, especially if you are in the company of friends and you’re planning to smoke your joints as if it were the peace pipe. We can say that the need to make joints larger than what a single rolling paper can offer initially led many cannabis users to experiment with different ways and methods to tie a joint. Within this category of enlarged joints is the six paper joint.
As explicit as the name suggests, it is a massive joint tied with 6 rolling papers glued together to form a large rolling paper, thus assembling a huge one. A 6 paper joint will get you to the top along with your friends, making it last longer. So, call your friends, find all the materials you need, and learn how to roll a 6 paper joint.
How to roll a 6 paper joint
Materials
- 4 to 6 grams of your favorite cannabis buds
- Regular size rolling papers
- KLIP or regular herb grinder
- Table or clean and flat and surface
- Rolling tray
- Lighter
- Scissors
- Cardboard or filter
Directions
Step 1
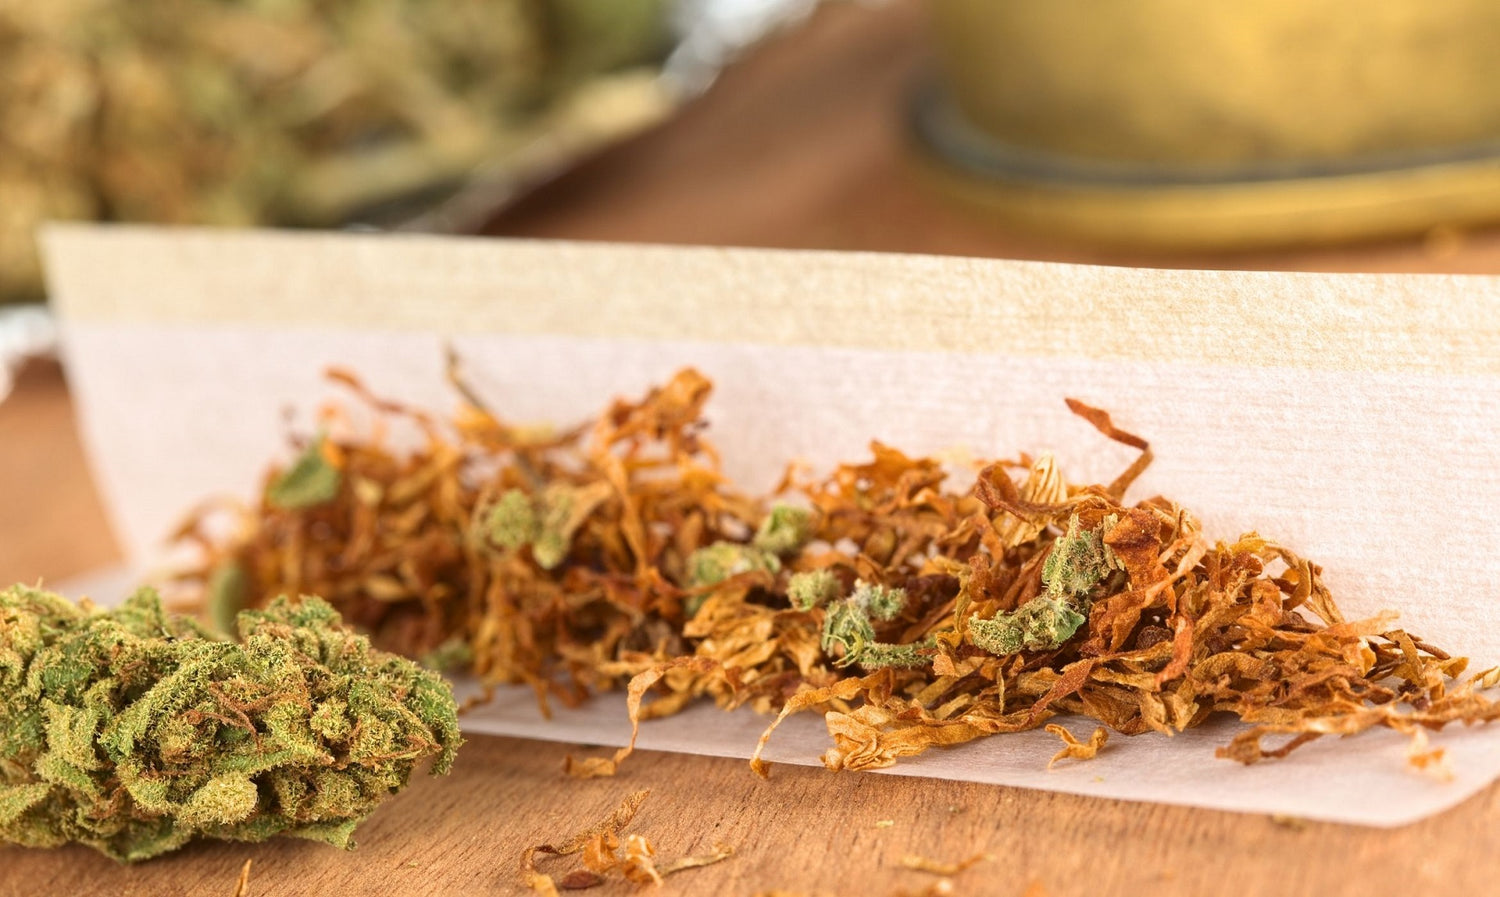
First of all, it is necessary to take your nugs a tear them into smaller pieces so they can fit better into your KLIP’s slicing chamber. By slicing your weed nugs, you will preserve more trichomes in your final ground weed than you would do by crushing it with a regular cannabis grinder, where it would probably clog a bit in the walls of the grinder. Using a KLIP will also allow you to choose the exact size you want to grind your cannabis by placing your favorite size screen into the slicing chamber.
Grind the weed and place it in the rolling tray. Keep slicing until all the herb you want to put in your 6 paper joint is well-ground. Once you finish, you will have something like a little 4 to 6-gram mountain of ground weed in your tray.
Step 2
In this step, we will assemble the 6-part sheet of paper to roll our 6 paper joint. Take six rolling papers and stick them together two-by-two using the glue stripe of the rolling papers. After you do this, you will have three double-papers. Now take only the glue stripe of two new rolling papers to glue the 3 double rolling papers together.
Place the 3 pieces of double rolling papers with the glue facing the table, place one of the ends of one piece above the end of another, use one of the glue stripes you cut, and stick the two parts together. You will have a 4-piece rolling paper, and you're about to finish this step. Now proceed to stick the remaining piece of double rolling paper to the four-piece paper, and voila! Your 6-part rolling paper is ready to start putting together your plumber's joint.
Step 3
Although the crutch can be optional, we highly recommend adding a cruth to your 6 paper joint as it will bring some strength and stability to the joint’s structure. Start by cutting a long, rectangular strip of cardboard using the scissors. The size you cut the cardboard will determine the size of the filter. It is best if you cut the ribbon long enough and then cut off the excess.
Once you have the cardboard strip, take one of the ends and make small accordion or "w" shaped folds. After 4 or 5 folds, start to roll the cardboard on itself, thus forming a cylinder above the folds in the form of a "W.” Stop when you feel like your filter is just the right thickness for your joint size and cut the cardboard excess if you have it. Now you have all the necessary pieces to assemble your 6 paper joint.
Step 4
Take the weed from the rolling tray and spread it evenly on the 6-piece paper you just assembled, put the filter in place, and very carefully pick up the open joint with your fingers by the end of the filter. Begin to close your joint from the bottom up, starting from the filter. Use the rolling tray to help you avoid spilling the ground weed all over the place as you close your 6-paper joint. Continue completing the joint very carefully for not tearing the paper off until you reach the end of your 6-piece paper.
Step 5
Make sure to pack your 6 paper joint well without leaving it too compact, or it will be too tight and may clog, or too loose as your joint will probably burn badly or too quickly. Once your joint is well packed, close the tip by making some twist to the exceeding paper and cut off the excess.
Get ready to enjoy a truly uplifting experience, find the lighter, light that passage to the clouds that you have in hands, and enjoy the relaxing journey ahead.
0 comments