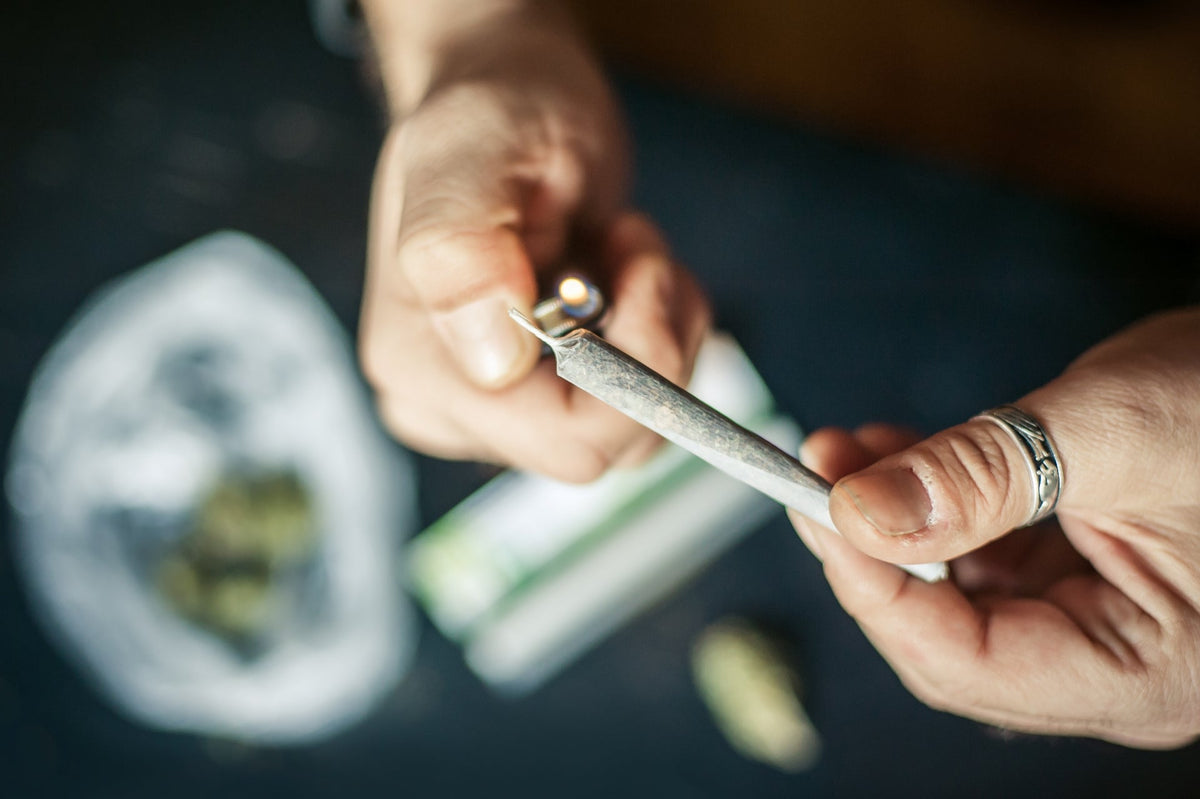
How to Roll a Thin Joint
|
Time to read 3 min
|
Time to read 3 min
Fortunately for us, there are many types of joints. After all, variety is the spice of life. Some are pretty simple to roll, while others are just an uphill climb requiring your best roller’s ability. At the end of the day, every smoker has its own favorite type of joint to enjoy the herb.
Thin as a sewing pin and with the size of a toothpick, pinner joints are convenient for personal use. These are perfect to smoke without dealing with any excess waste after finishing them.
Moreover, when you have a weed strain that is extremely potent and just don’t want to feel too intoxicated, or if you are running out of weed and only have a very small amount of it, the best thing to do is a pinner, which is a very thin, tightly-rolled cannabis joint. Be careful when using the term “pinner joint”, some might think that you’re describing a low quality weed.
While others believe that rolling up such a small amount of cannabis isn't even worth it, the truth is that when you see your herb evenly spread, rolled up in a nice and tight symmetrical joint, it is just visually perfect. In case you are interested in this type of spliff, learn with us how to roll a thin joint.
Table Of Contents
Now that you’ve gathered all these together, get yourself a clean and flat surface to make your pinner joint.
Crutches help to stabilize your pinner while ensuring its cylindrical shape. Grab one rolling paper and gently crease it. Then, lay it open and place the filter at one end of it. You can make your own filter if you don’t have those premade by cutting a small rectangular shape of a thin cardboard or stiff paper, for example, rolling it up until you reach your desired thickness. Remember that it’s a thin joint so you don’t want to make it too big. Otherwise it won’t fit.
Leave your herbs as fine as possible using your grinder. Remind that the less bumpy your weed, is the better a pinner you will end up making. Then, pick your rolling paper and hold it trying to create an U shape. Arrange your herbs evenly all through the remaining area. Keep in mind that it should look symmetrical, so try to equally space out your grinded bud.
Now it’s time to roll the herb-filled paper. Move it back and forth between your fingers. Be gentle as you go and try to smoothly compress the herb down. When it begins to take a cylindrical shape, wrap your weed around and go to the following step.
If you are having a hard time wrapping it, use cardboard to put the edge of the paper that’s closest to you inside and continue rolling it. To make a perfect pinner joint you must do it tightly. This is the main key feature to ensure a smooth smoking experience. Remember this while you are rolling it. Now, begin to tuck in starting at the crutch.
Next thing to do is lick the glue strip and press it down into place. Before you seal it, take your time and make sure that is as tight as possible. Now, check that everything is packed in properly. Take a look to the filter and see if it is placed all the way inside the joint. If not, just push the crutch inside and lock it down by tapping it against a hard surface several times. Gravity will do its job, dispersing your weed evenly.
Focus on the non-filter side of your pinner blunt. Pinch the end of it shut, giving it a little twist to seal it closed. Gently shake back and forth. Now that you have finished your pinner joint, enjoy and reap the benefits of your work.
From now on, you can make sure that the small amount of herb you have is used well. However, if you are with some friends, keep your thin joint for later. They might think that you are trying to cheap out on sharing your cannabis. Let them know you're now an expert on rolling a tight kush as you enjoy smoking cannabis solo sometimes too.