Got some skills in the rolling department? If you are a regular consumer, you will likely already have everything you need for this project. The eye-catcher diamond joint will definitely take your smoking session to the next level without any serious investment. For this reason, being a master joint roller is required to achieve a perfect diamond joint.
If you’ve mastered braided and cross joints, you’re probably ready to start learning this rolling technique.
Ready to shine bright like a diamond? Because you are about to learn, step by step, how to roll a diamond joint.
How to Roll a Diamond Joint
Before you get rolling, it is essential to keep in mind that a diamond joint consists of only one mouthpiece, one filter, and several smaller joints fused in the shape of a diamond.
There are two ways to roll a diamond joint, and this guide will show you both. You can make it with a diamond at the very end of the dobbie or in the middle. One way or another, the first thing you need to check is if you have all the equipment required.
How to Roll a Basic Diamond Joint
This technique is more complicated than the double-barreled version. It takes a lot more sealing to smoke and burn properly, but it is worth the effort. For this method, you will need:
- Three large marijuana rolling papers (rice or hemp are much easier to shape and work with)
- 2-3 grams of cannabis
- KLIP or your preferred weed grinder
- One dab tool (or tweezers)
- Gummed strips
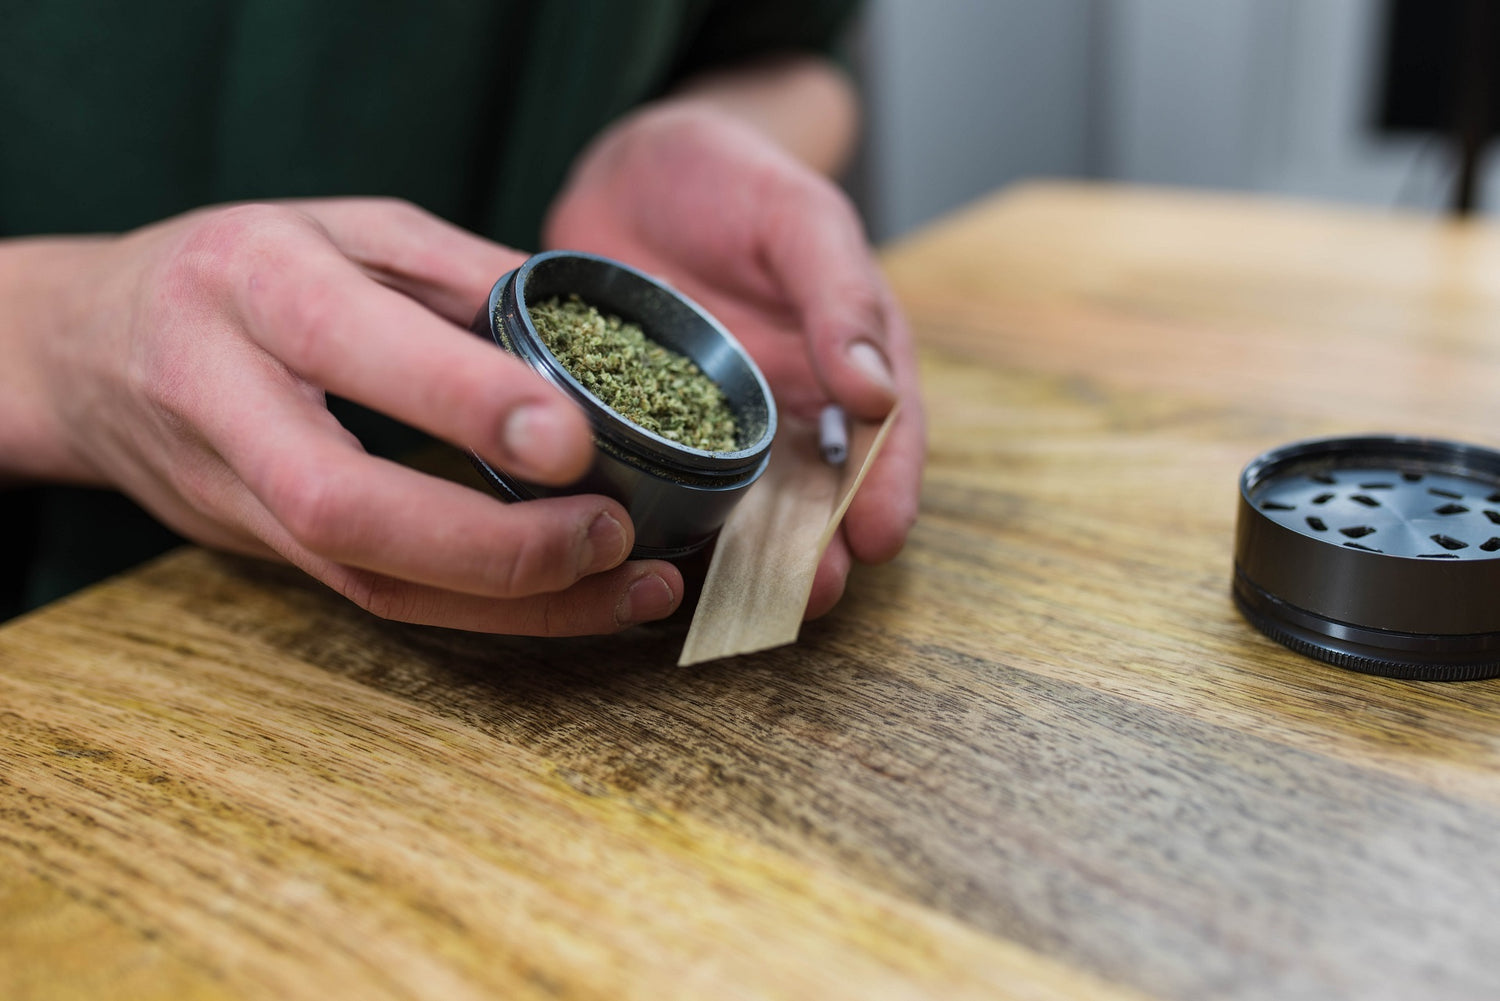
Step 1: Grind Your Herb
Ensure that you grind your herbs as fine as possible. This way, your diamond joint will burn evenly and smoothly. In case you want a better burn, use our KLIP grinder, which will perfectly slice your herbs into fluffy ground cannabis.
Step 2: Roll Two Unfiltered Joints
Roll two straight, filter-less joints. Try to make both look identical and don’t pack these too tightly. Additionally, we advise putting slightly less mix in their centers so that you can adequately bend them later on. Consistency is the secret; these joints are meant to burn at the same rate.
Now that you have two skinny joints, put them side by side and twist both ends together. If you need extra help with this step, you can quickly check our guide on How to Roll a Joint Without a Filter.
Step 3: Wrap Your Joints
Now, grab one of those gummed strips that you’ve been saving, preferably cut from king-size papers. Place these joints side-by-side and line up the ends, making sure that tips are even. Stick them together with the strip on one side. Lick it and wrap it around the joints to keep them united. If one is shorter than the other, don’t panic. The best thing you can do is simply trim it down to avoid further problems.
Then, carefully bend each joint’s centers, moving away from each other to make a diamond shape. Move forward to the other end. With another sticky strip, wrap it in the same way you just did to hold the shape. After you have bonded the other side, cut the piece of paper that divides the two joints. This cut will allow airflow from both once you connect this beauty to the next joint you’re about to perform.
Step 4: Roll a Straight Fat Joint
In this step, you need to roll one more joint, this time with a filter. It should roughly double the first two sizes because it will fit the skinny pair tips at the end of this massive joint. Pack it tightly to add some strength and stability to the joint to hold the diamond’s weight.
Step 5: Secure the Joints
Once you got the perfect dobbie rolled, insert it into the open end of the diamond-shaped joint. Secure these two together with another gummed strip. Lick it and wrap it around to bandage the union.
Bend the skinny joints into a diamond shape one last time. You can add a gummed strip through the diamond’s inside to the fat joint to hold its shape to connect them.
You can use as many sticky strips as you need to make sure each junction is correctly attached or even cover any holes you accidentally may have made while bending the papers. To test for leaks, you can blow into the mouthpiece's joint to seek a rush of air escaping with your fingers. Keep in mind that the more strips you add, the more paper you’re smoking.
Congratulations! Pat yourself on the back, light the tip of your basic diamond joint and puff away your stress with this gorgeous creation.
How to Roll a Double-Barreled Diamond Joint
This technique consists of building two cannabis joints shaped and tied on in a resembling diamond shape in the middle. It will have two mouthpieces, which are fused. Although it sounds complicated, the truth is that it is a lot simpler to seal, resulting in an easier way to achieve the perfect diamond joint. In addition to that, you will make this flair joint last longer with this method.
Materials
- Two large marijuana rolling papers, preferably made from rice or hemp
- 2 grams of cannabis
- Two joint filters
- KLIP or your preferred weed grinder
- Dab tool (or tweezers)
- Glue strips
Step 1: Set Up Your Table
Set your table with everything you need. Use a clean, hard surface if possible. Put your glue strips on a side and grind up the herb using a weed grinder.
Roll two medium-sized straight rolled joints. Be sure to place filters at one end of both.
Step 2: Give your Twins a Hug
Line the pair of joints by the and. Then, use a few inches of your gummed strips, lick them and wrap the two filters alongside so that they align. This method is slightly different because you will simultaneously put both between your lips to achieve a good draw.
Step 3: Make the V-Shape
Use a dab tool to gently move the joints away, trying to form a V-shape. If you are missing a dab tool, a tweezer will do. Now, use the device on each side of both joints to bend the centers outwards to reach a diamond shape.
Step 4: Work that Diamond Shape
Use your finger to polish your creation and corroborate that it looks symmetrical. Gently press down the angles until you’re happy with how it looks.
Step 5: Wrap it One More Time
Flatten the unattached joint tips and twist them together. Use a glue strip to tie on both of each joint ends.
Place the filter side in your mouth, light it up, and that’s it! Now that you’ve mastered both techniques, dare to personalize your smoking experience using different types of papers and strains. Let’s cheers to creativity.
0 comments