Once you have mastered the art of rolling a joint, your smoking experience is immediately elevated. However, when some time has passed, you may start asking yourself; "is that’s all there is to rolling joints?".
Fortunately, the cannabis community is constantly creating new and innovative ways to enjoy herb. If you want to spice things up with a new rolling method, you will be absolutely delighted with the braided joint. This masterpiece will level up your rolling game, making it a fun experience to share with friends.
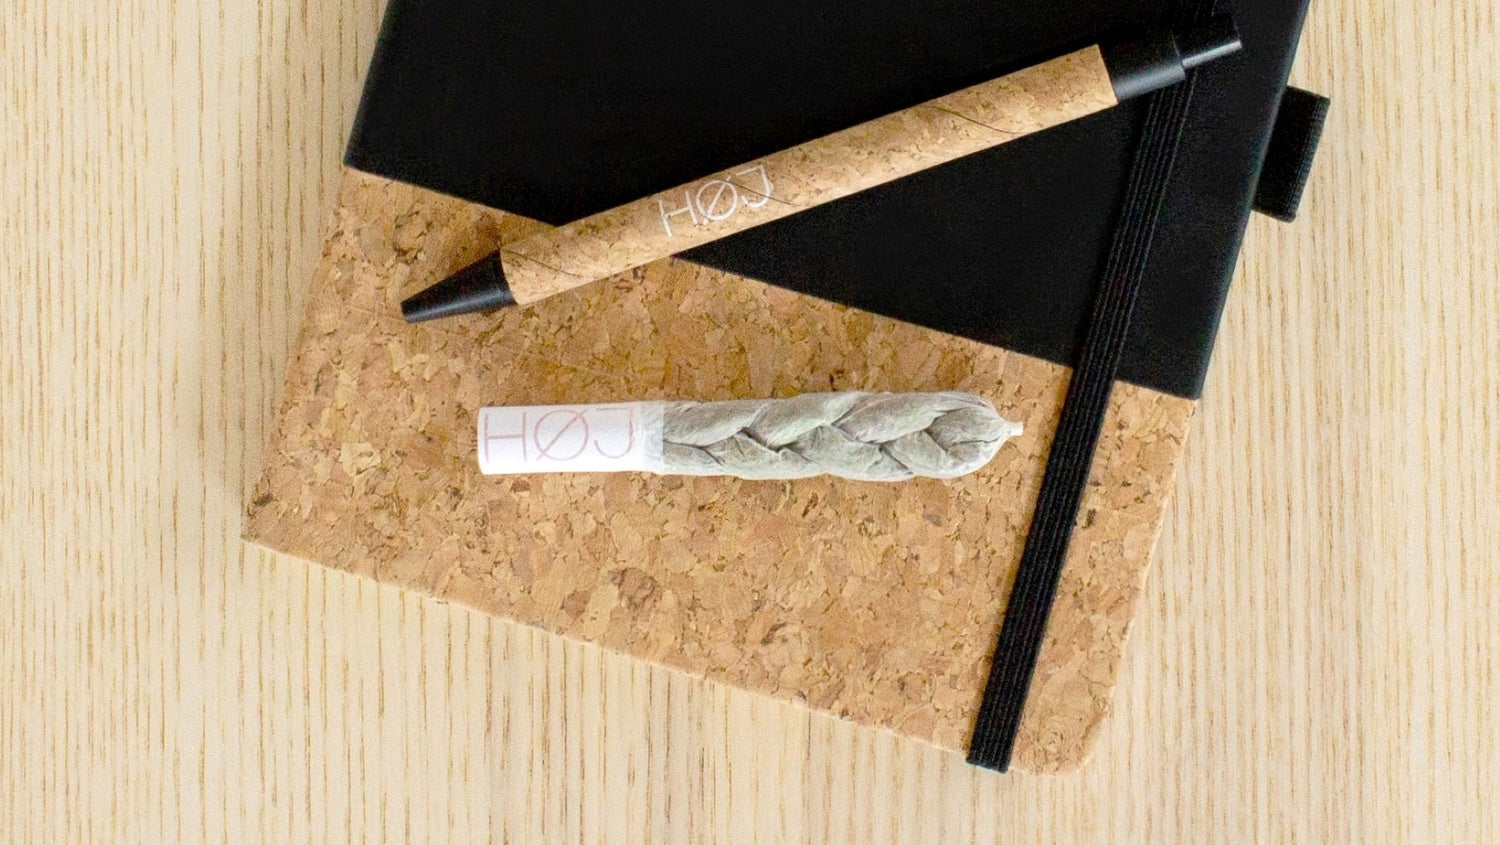
A braided joint is just like any other type of rolled cannabis, with the main feature being that you will incorporate three joints into one. Perfect for parties where you want to share with friends, learning how to roll a braided joint will allow for a much more significant amount of herb.
How to Roll a Braided Joint
To make a braided joint that smokes evenly, you will need to roll several joints that are similar in size. Moreover, if you don’t have plenty of time, you may want to try with another type of joint, since it can take up to 15 minutes for even the most experienced stoners to roll a braided joint.
Materials
- 2 grams of your favorite herb
- A KLIP or your preferred weed grinder
- Filter tips (optional)
- King size rolling papers
- Scissors
Once you have gathered all these items, get yourself a tray or a clean, flat surface where you can roll your braided joint. When ready, follow these simple steps:
- Step 1: Grind your herb. Make sure that it is even and there are no stems of leaves that can puncture the paper. Once you have your ground cannabis, you will want to divide it into three even piles before adding them to the papers.
- Step 2: Roll your joints. As we mentioned before, a braided joint consists of three individual joints put together. In this sense, you will need to roll three joints similar in size and thickness.
Make sure your joints are not too tight, since it will make it harder for you to braid them later on. As you finish each one, add the filter. Make sure they are also the same length, since a larger filter in one of the joints will make it difficult to secure the three of them together.
- Step 3: Stack the three joints together. Before doing so, you may want to roll the joints between your fingers, just to make them more malleable. Then, form a triangle shape with the three joints and wrap them together using a glue strip from a new paper.
If it feels too loose, use another glue strip to secure them better. Make sure you lick the glue as you wrap the joints by the filter tip, allowing them to stick better. Moreover, it is important to ensure the tips are even, since they’ll pull at different times, making the joints burn uneven. Once they are correctly secured, you can braid them.
- Step 4: Braid your joint. It may be a bit difficult if you have never braided anything before, but there is an easy system you can follow to make sure you braid them correctly.
Place the joints vertically in front of you and number them one, two, and three. You will need to bring the outside joints inwards. In this sense, cross joint one over joint two, then joint three over joint one, to later cross joint two over joint three. Follow this pattern until you have no room left to braid anymore.
- Step 5: Twist the ends together. If you have successfully made it to this step, you have reached the end. Now, you can simply attach the ends together with another glue strip or twist them just like you would with a normal joint. Once it is sealed, you have in your hands a big fat braided joint.
All you need to do now is to light your joint and inhale. If this is too much to smoke alone, we are sure your friends would like to enjoy this enormous joint with you. Be careful, though; you may end up with no braided joint if you don’t keep an eye on it.
0 comments