If you look on the internet, you will notice there are multiple ways of smoking weed. However, joints are the all time favorite for all stoners. They are a classic and possibly the way most users encountered cannabis for the first time.
Being an experienced consumer with quite some time in this game means you may have noticed the large variety and styles of joints that already exist. There are a lot of techniques taking origin from every corner of this world, but some are more iconic than others.
Europe has its own joint style. It is not easy at all when you have no skills rolling, so unless you have the patience and time to keep trying until you feel completely accomplished, rolling an European joint is better if you have mastered the art of rolling a simple joint. This is not meant to disencourage you, rather it is to save you money on rolling papers and nugs likely destined to waste.
Next, you will learn how to roll an European style joint, and if lucky, this will become your preferred option to smoke instead of a regular joint.
How to Roll a European Joint
It is great to explore and try out new stuff, and back rolling is probably of those abilities you want to acquire. Backrolling is not a modern notion, and as a way to prevent needless overlapping of the smoking paper, it actually has a long tradition that started with hand-rolling tobacco cigarettes. Want more flavor? Then use less paper.
By doing just one rotation around the ground cannabis, the simple concept of rolling an inside-out joint is to use the least amount of paper. The remainder of the paper is either ripped or burned away.
An European style joint implements this method, but the materials and steps are not too different from rolling a normal joint. You will need the following:
- High quality rolling paper
- One filter tip or crutch
- Cannabis strain of your preference
- Tobacco or a cigarette
- A KLIP or any other weed grinder
- Lighter
- Scissors (optional)
First, it is recommended to purchase thin rolling paper to guarantee a slow burn once you are done rolling. The downside to thin rolling paper is that it is harder to work with, therefore practice with the ones you already know and leave the thin ones after you improve your abilities.
-
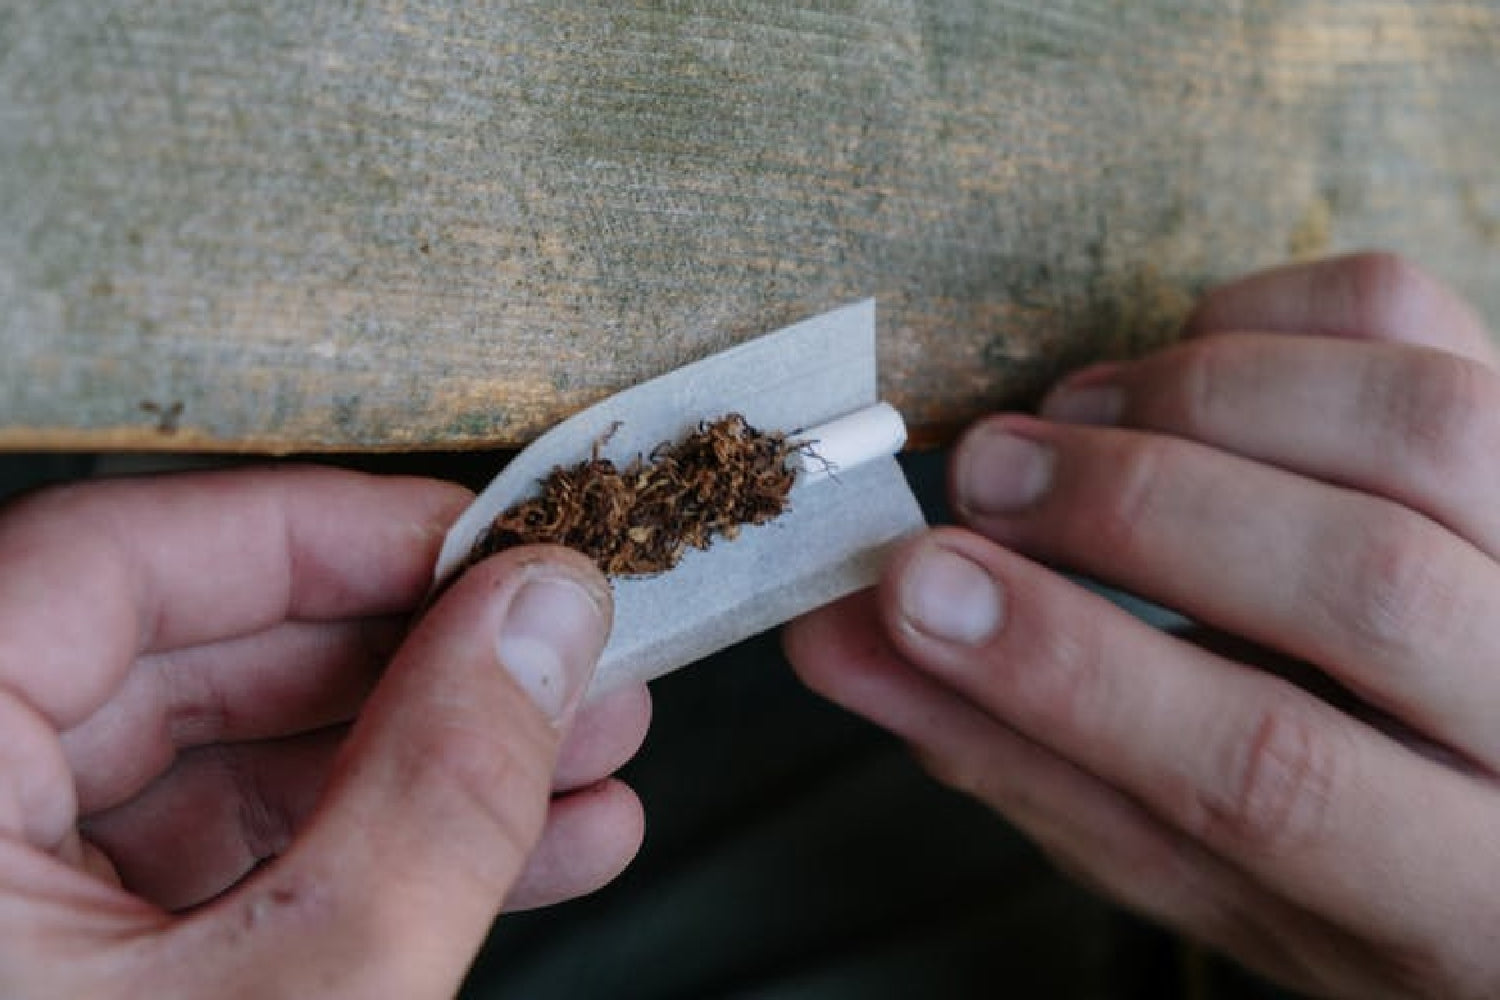
Step 1: Grinding your weed is essential. Find the perfect consistency and do not chop it excessively fine since it will block the airflow needed for a smooth smoking experience. In this case, a KLIP grinder will leave your flower with a fluffy consistency, perfect for an even smoke.
- Step 2: This part is crucial to achieve the backrolling. Take the rolling paper and fold it in such a way that the glue stripe is facing you just above the thumbs, like when you are ready to start rolling up a joint with both hands.
Tip: Make sure the opposite side without glue is the long part you will cut, rip or burn later. Almost like forming a ‘J’ where you will place the ground up weed.
- Step 3: Here you will place the crutch ⎯⎯better if it is longer than usual for a easy hold. Now, distribute the herb like you would normally do, but this time add tobacco. You can open a cigarette and use the product inside or purchase it in bulk.
- Step 4: Mold the joint with your fingers with a back and forth motion, as if you were rubbing them together, until you achieve a tight cylindrical shape.
- Step 5: Tucking the glued stripe is kind of tricky yet not impossible. You should have shaped your weed and tobacco tightly to make things easier in this step. Help increase the strength of the shaped weed by tucking the side of the adhesive under the overlapping portion of the paper. To take out the rest of the paper, you should use your lips. If you can clearly see the overlap, proceed to roll the joint.
Note: If you have trouble keeping the rolling paper with no wrinkles and it is shrinking, delicately pull the tip of the paper in the opposite direction from the crutch with your fingertips.
- Step 6: To seal the joint, there is no need to lick the glued stripe directly. Just locate the glued side through the paper that overlaps. Similar to a tracing paper, but this time you will find the place where the glue is. When you do it, lick over the excess paper so your saliva is able to reach below. Due to the moisture, the stripe will become visible.
- Step 7: Before you are free to enjoy this elegant piece, remove the wing left in the joint with scissors or by burning it.
You will definitely feel an enhanced flavour and a smoking experience 10 times improved. Tobacco and weed is a golden combo, and this amazing rolling technique helps in every aspect. Hence, we conclude Europeans know what they are doing for sure. Fortunately, you can learn how to roll an European joint and judge whether it is worth the hype or not.
0 comments