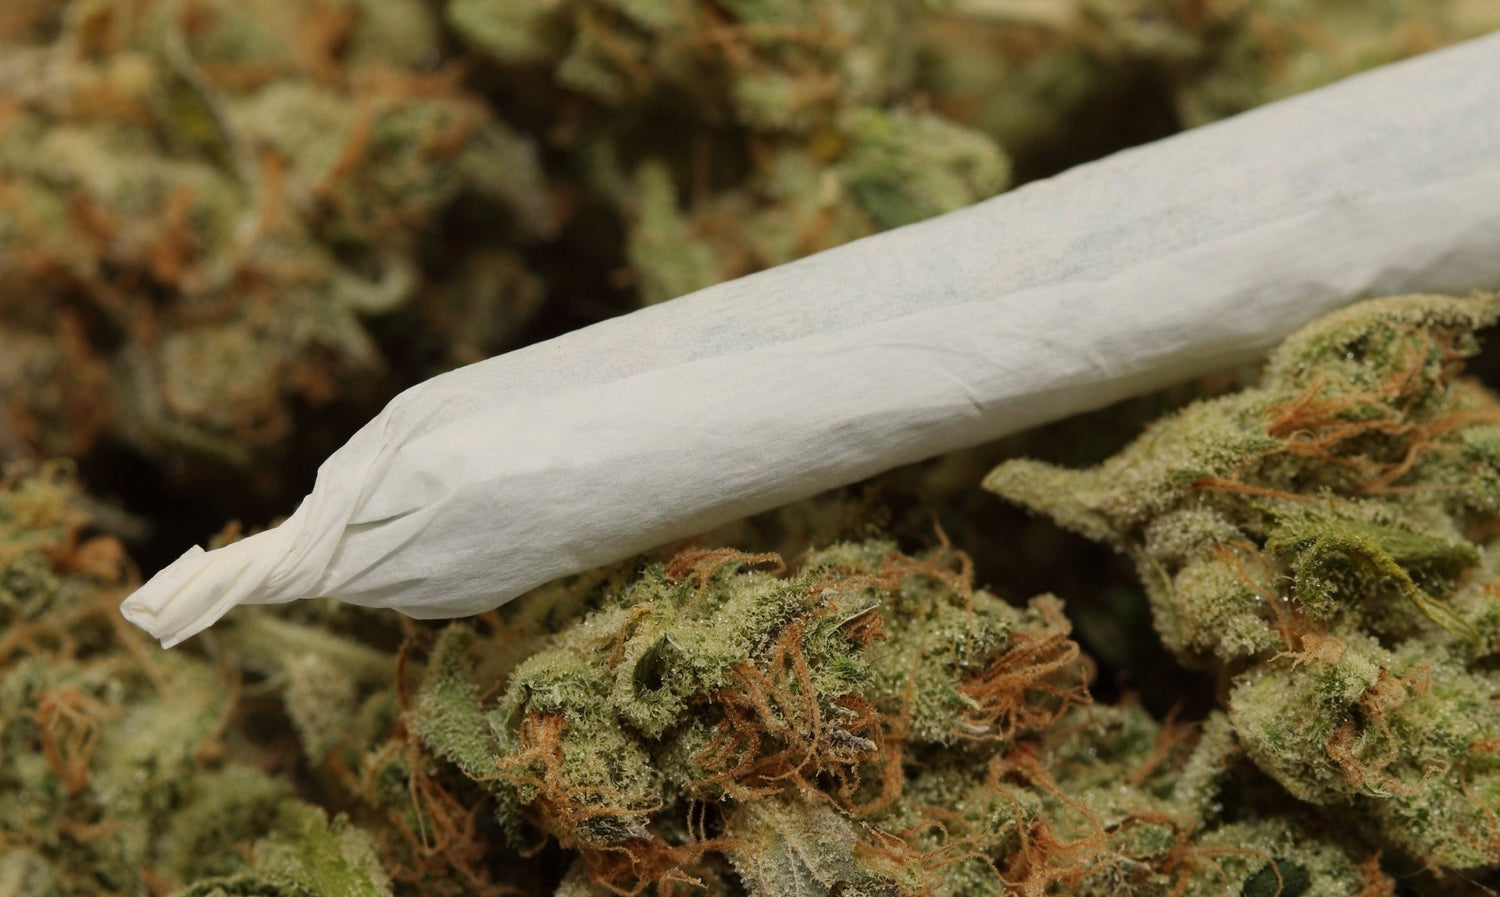
A pencil can be full of surprises. Inside it, there are stories, landscapes, memories just waiting for us to discover them. Its shape is perfect for an artist grip, putting it behind your ear for later, trying an illusionist trick, or chewing the back of it in thought. You can also use it to roll a streamlined, elegant joint.
Even if you are already a master blunt roller, you might want to feel the professional shape of an evenly rolled, evenly packed joint between your fingers. And for this purpose, you can easily learn to roll a joint with a pencil.
How to Roll a Joint with a Pencil
Step 1
The best professionals have a neat and tidy workstation where every tool and material is at hand. Following their lead will help us create a calm working environment, not wasting any weed and not having to run around looking for stuff.
In addition to your weed, grinder, and paper, be sure to have a flat tray to place your ground flowers and a clean, dry pencil. If you don’t like licking your joints, having a slim painting brush and some water nearby. You also might want to have a thin cardboard paper strip for your filter. It is not mandatory, but it will help your finished joint to keep its shape.
Step 2
Take a leaf of rolling paper and place it on a flat surface with the sticky edge up. Place your pencil over the non-sticky edge, making sure it lines up nicely. Wrap the paper around the pencil until you get to the sticky edge. Wet the adhesive using your tongue or a moistened brush and seal it. Let it dry for a minute.
Step 3
While the joint dries out, take a thin cardboard strip and roll it on itself until you get a spiral shape. There are other ways to fold a filter you can use. Choose your favorite, although this one can do the job without much issue.
Pull out a bit of the rolled joint from the pencil. Take the filter and tighten it a bit, so it fits inside the tube. Slide it in and let it unfold until it adjusts to the available space. Now you can take the whole roll out of the pencil.
Step 4
Grind your weed and put it on the tray, so you don’t lose any. We recommend using your KLIP grinder for a fluffy consistency so you can easily roll a joint with a pencil.
Put the ground bud inside the paper tube and push it every half inch or when you consider it with a slimmer object. Don’t pack it too tight, or it might lose its beautiful shape. Pinch and twist the paper end for a more professional look and to avoid losing any bud.
There you go! Your pencil-rolled joint will look classy, burn slowly and steadily. It won’t fight you or disgrace your weed with an uneven burn. Put a flame to it and enjoy!


0 comments