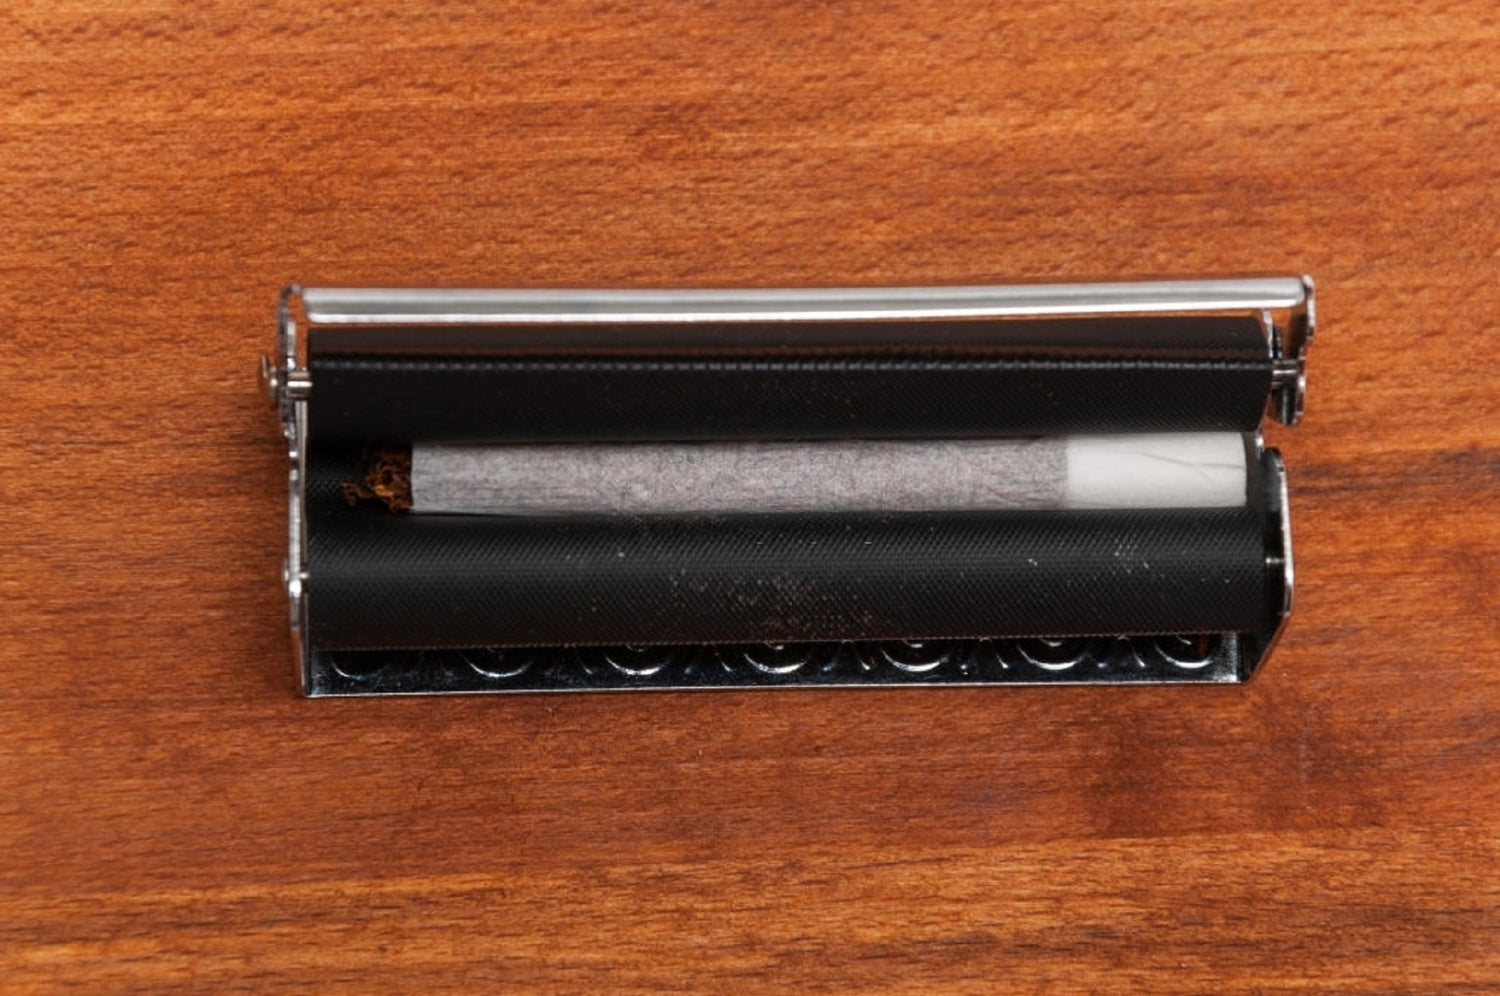
Joint rollers or rolling machines are one of the most efficient and used methods by those who are looking for a faster and more consistent way of making their joints. There is a whole variety of joint roller models made of many different forms and sizes, as well as a wide range of materials.
However, if the idea of creating your own devices appeals to you, we have prepared a nice step by step guide on how to make a joint roller machine out of some scrap pieces of wood and other materials that you could easily find in your garage. It is a really fun woodworking project to get in if you have some free time and want to create a really cool homemade joint roller that is going to help you roll your joints or cigarettes like a professional.
How to Make a Joint Roller
Materials
- A 10¨ x 10¨ piece of birch of 3/4¨ thickness
- A 1/8¨ (nominal dimension) brass metal pipe
- 2 brass lock nuts
- 2 high-pressure brass caps
- 3.1/4¨ piece of leather
Equipment
- Table saw
- Miter saw
- 220 grit sandpaper
- Sander
- Wood glue
- Clamps
- Wood finish product
- Pencil
As you will have to rip down the birch into several pieces and join them together with some other pieces needed for assembling your joint roller, we are going to name all pieces with a letter to simplify things.
Going from A to J, here is the list of all pieces:
- A: 2 pieces of 1/2¨ x 7¨
- B: 1/2¨ x 4-3/4¨
- C: 2 pieces of 1/2¨ x 1¨
- D: 1/2¨ x 3-1/4¨
- E: 2 pieces of 1-1/4¨ x 7¨
- F: 1-1/4¨ x 3-1/4¨
- G: 3¨ x 3-1/4¨
- H: 1/8¨ x 5-1/4¨ brass pipe
- I: 1/8¨ brass lock nut x2
- J: 1/8¨ high-pressure brass cap x2
- K: 3-1/4¨ x 9¨ piece of leather
Directions
- Rip down the piece of birch in the table saw
- Cut the pieces to the proper length with a miter saw
- Hand sand all wood pieces with a 220 grit sandpaper
- After you've done this, start assembling your homemade joint roller together.
Assembling starts with the bottom half of the device. Lay out the pieces in the correct order and use a little bit of wood glue to stick the pieces together:
- Stick C on the edge of A
- Now, stick E to C, making sure it is parallel to A
- Stick D connecting the 2 E pieces on the same side where you placed the C pieces. On the opposite side, place and stick the F piece. The G piece must be symmetrically placed just in the middle of the space that is between D and F and sticked to the edge of the space for the rolling pen.
- Finally, place and stick B on the opposite side where C is placed.
- Use a clamp to apply a little bit of pressure while the glue cures. However, we recommend not applying too much pressure.
- While you wait for the glue to cure, cut the piece of leather to the proper length to fit inside of the device.
- After the pieces of birch are glued, use a sander to soften a bit more the sharp edges and round over the sharp corners to make it smoother and softer to the touch.
- Use a pencil to make sure you have enough slack in your piece of leather before gluing one of the ends of the leather strap in place.
- Finish the wood with a wood finish product of your preference. We recommend using plant-based wood finish products and applying two hands of coating to the wood to properly seal it. This will protect your homemade joint roller from moisture.
- For the rolling pen of your homemade joint roller, use the brass pipe, the lock nuts, and the high-pressure caps.
- Wait until the end to glue the other end of the piece of leather to the wood. That way, you can place a pencil in the place where the material to make the joint is gonna be placed so you can check you have plenty of slack in your leather to go around the pencil.
You should now have a nice and pretty homemade joint roller ready to make as many joints as you want. This is a cool device you can use when you are having a party or just some friends coming to your house and you want to make them feel welcome with a nice smokable surprise.
0 comments